
Interacting with the Skydio API requires an API Token for both authenticating and authorizing the request.
Here we describe how to create and manage tokens in Skydio Cloud, as well as how to format all requests to the Skydio API.
Creating an API Token
Interacting with the Skydio API requires an API Token for both authenticating and authorizing the request.
Here we describe how to create and manage tokens in Skydio Cloud.
API tokens should be kept secret! They grant access to your organization's data in Skydio Cloud. Do not use the same API token for multiple integrations.
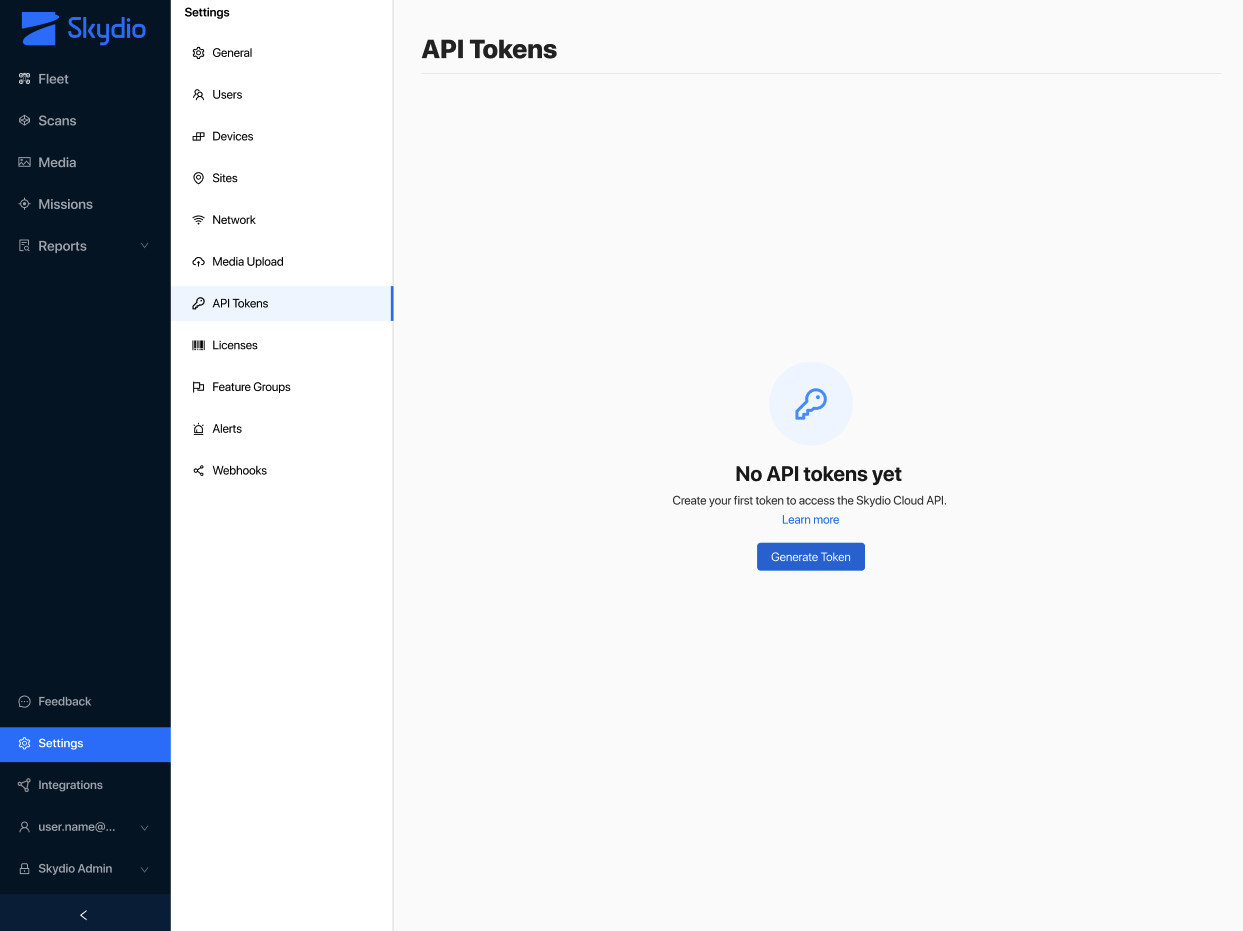
- Open Skydio Cloud
- Select Settings
- Select API Tokens
- Select Generate New Token
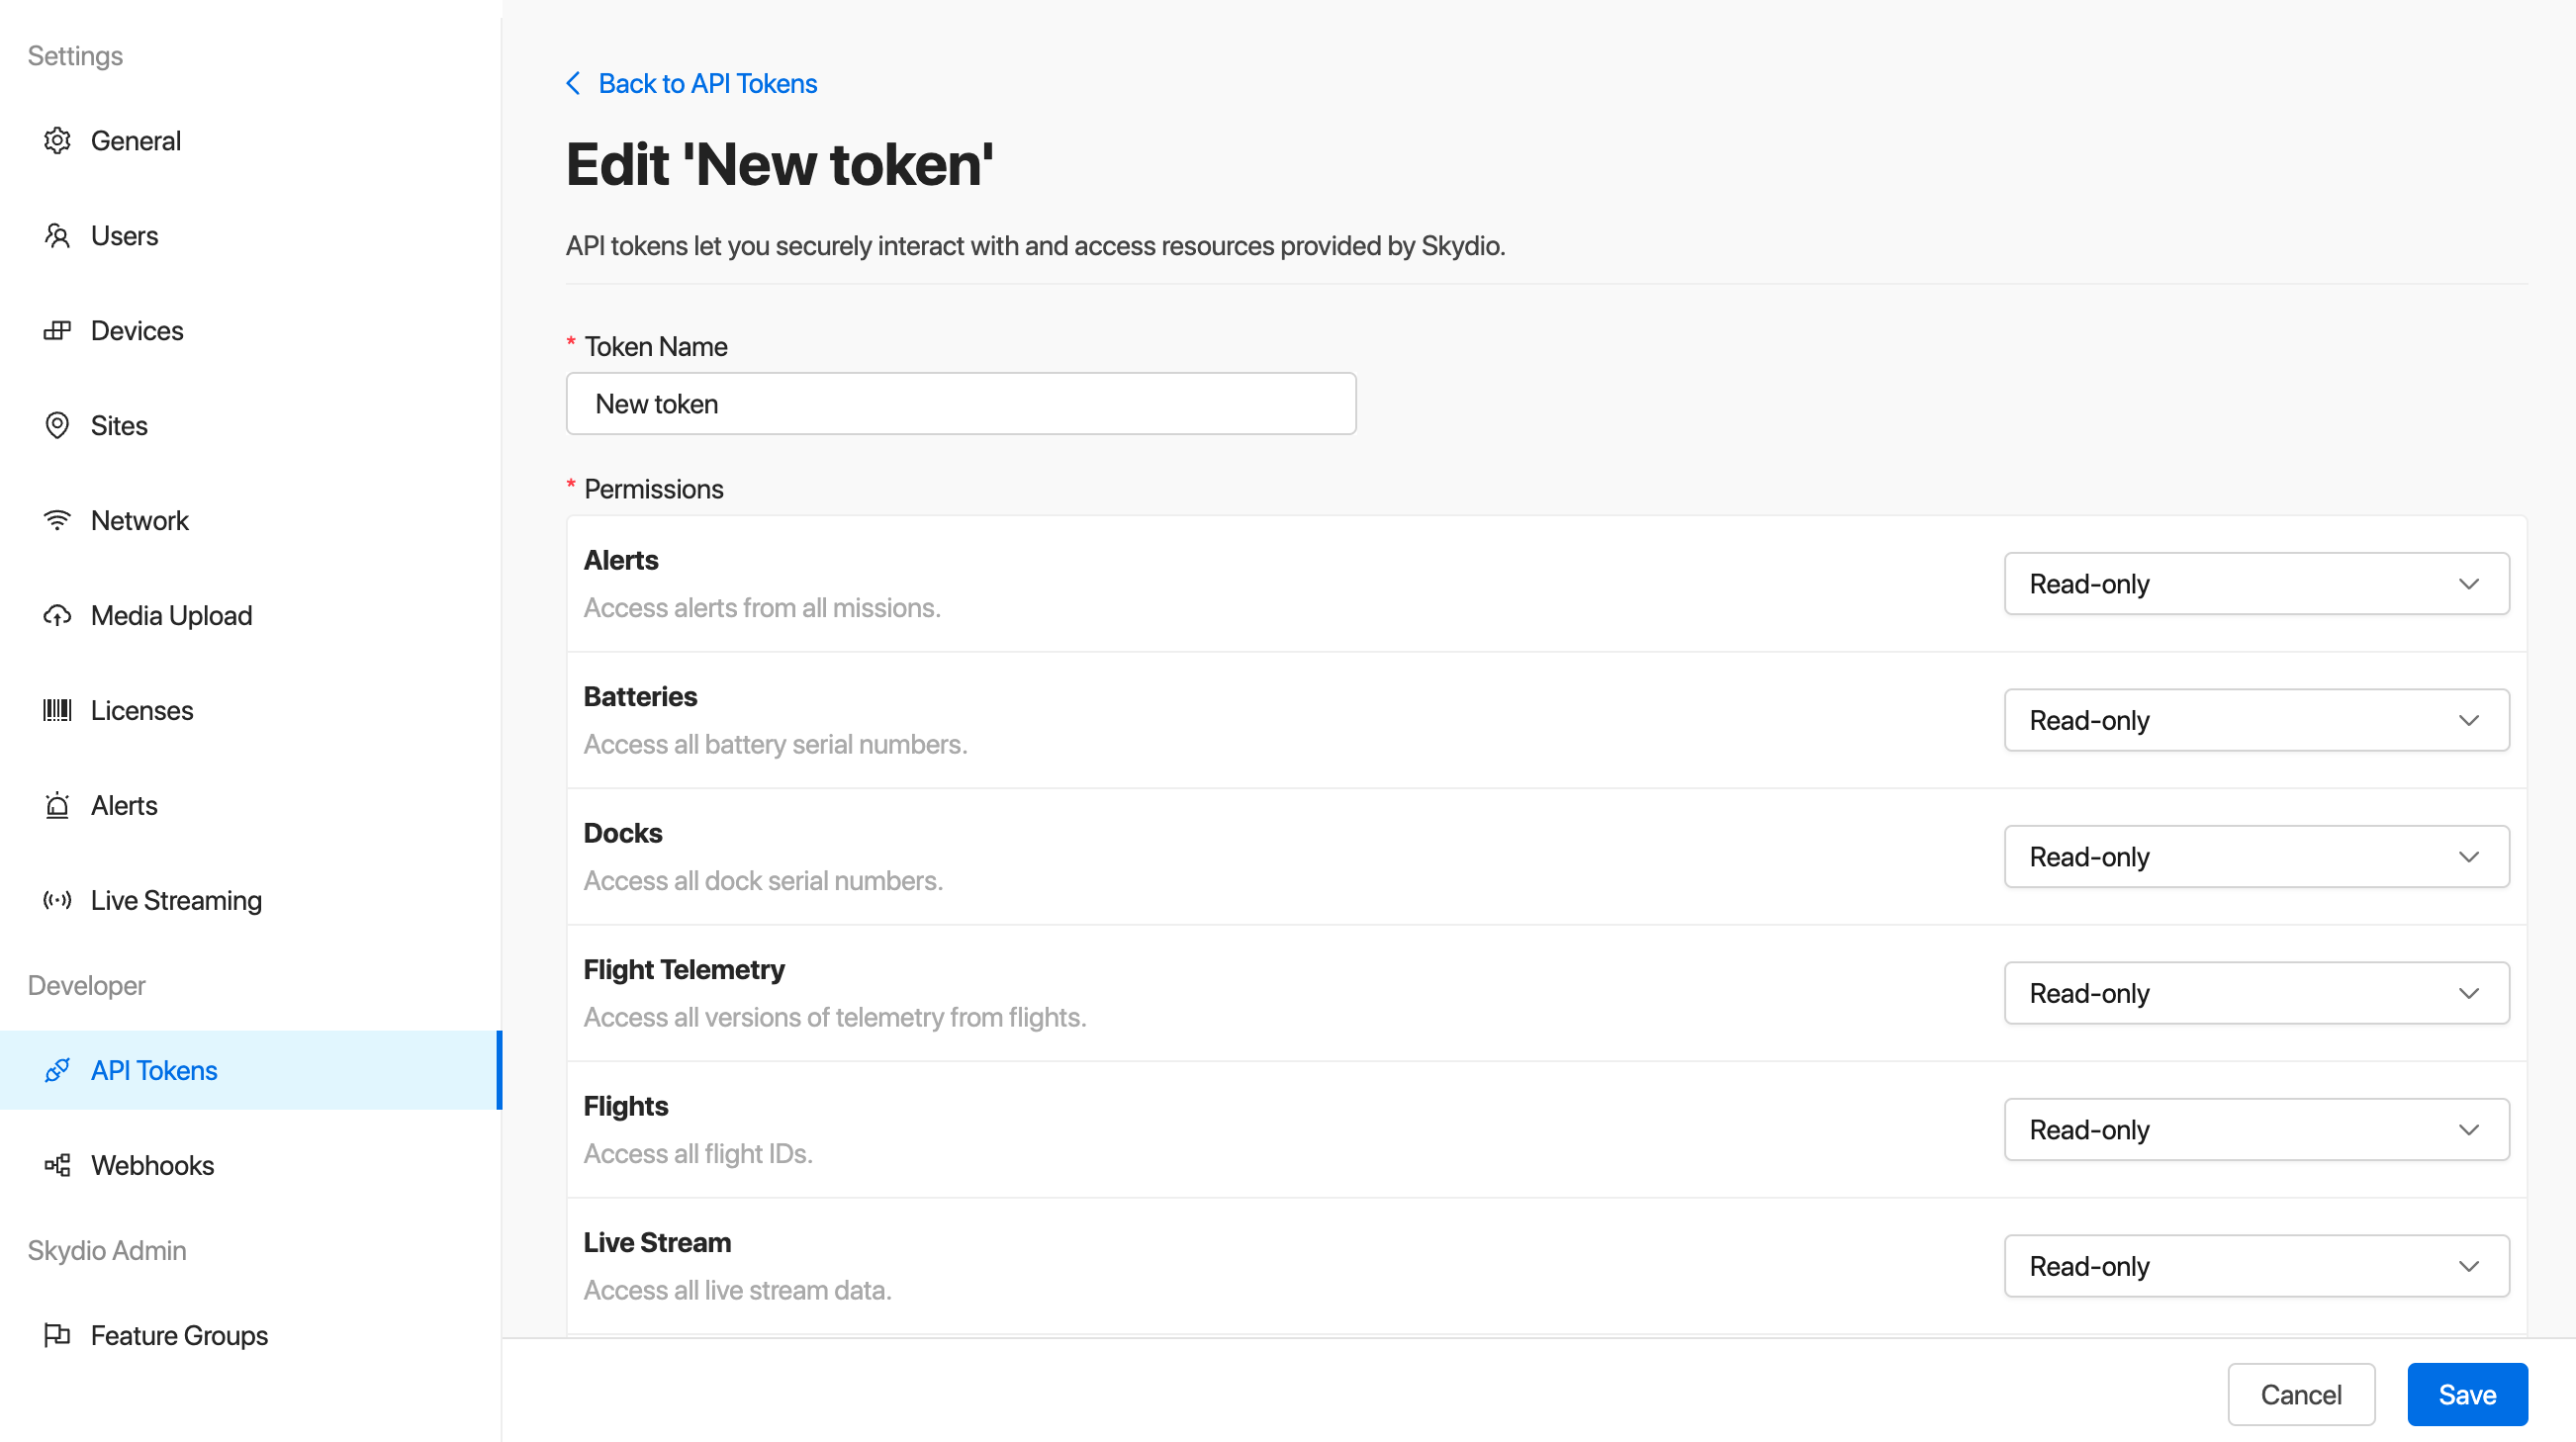
- Name your token, provide a description, and choose scopes for the token
- Copy your token and store it in a safe place
Be sure to save your token, it will be permanently hidden after the page refreshes or your login session expires
Token Scopes
Token scopes determine which endpoint(s) a particular API token can access. Tokens can be granted read-only access, write-only access, or both read and write access to a particular permission.
Formatting requests to the Skydio API
All requests to the Skydio API should contain an Authorization header with your API Token.
Requests to the API should be formatted like this:
curl -X 'GET' \
  'https://api.skydio.com/api/v0/flights' \
  -H 'accept: application/json' \
  -H 'Authorization: <api_token_here>'
import requests
requests.get("https://api.skydio.com/api/v0/flights", headers={"Authorization": "<api_token_here>"})